
So...this post is a little different from anything I've ever done. First of all, it's all iPhone photos! Second, it's a DIY. I wouldn't consider myself to be really crafty, but moving into/decorating my apartment made me realize that I have some potential.
My aunt had this dresser many years ago, passed it on to my parents, and then they gave it to me. I've had it for as long as I can remember.
Read on to discover how I transformed my hand-me-down dresser to a colorful, full-of-life conversation starter.

Before:

I took the dresser downstairs, removed the drawers and lightly sanded the entire piece. It was glossy and I wanted it to be dull with a little bit of texture so that the primer would stick.


After, I taped everything I didn't want paint on. Hardware, sliding mechanisms for the drawers (I'm sure there's a better word for that), etc.

These are the old knobs. I didn't want my new knobs to be so close together on the bottom three drawers (see original picture), so we used wood filler and drilled new knob holes for those drawers.

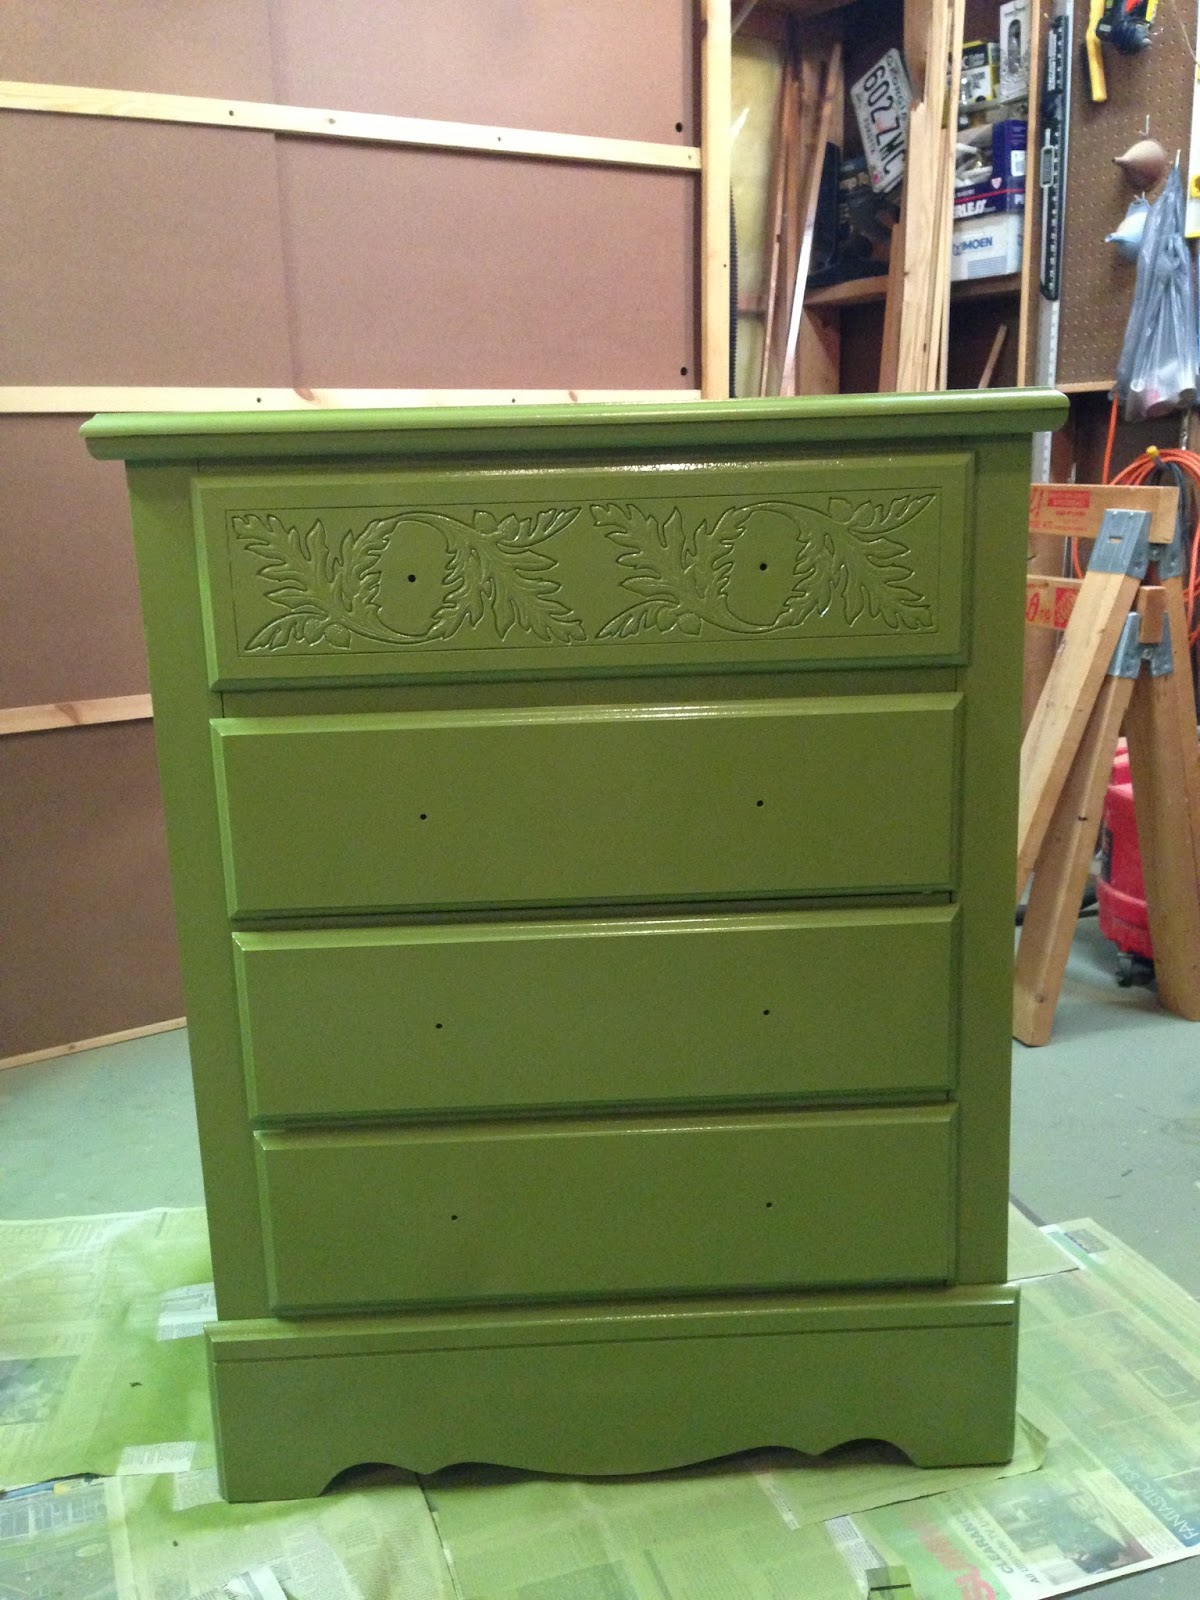
Next I began priming (I used a spray can for the primer and paint). It took me a coat to get the technique down, but what worked for me was getting a couple inches away from the wood and constantly spraying until all I saw was white (see top of dresser). Pro tip: before painting the top of the dresser, lay it on its side. If you try to prime or paint while its standing up and the spray can is facing down on it, the liquid will drip and it won't be even.

Go for however many coats it takes to make you content with the coverage. This took three.
If you're happy with your painted furniture, stop there! It could be finished at this point, depending on what look you're going for. I wanted more of a worn, vintage look, so I went to Lowe's and bought some Glaze. I was nervous about the outcome, but I'm so glad I did it.

Take a paint brush and begin brushing the glaze onto the wood. I tried leaving the glaze on for a minute and taking it off imediately, but none of the black stuck. I ended up leaving the glaze on the wood for about 15 minutes and then wiped the excess off with an old t-shirt. What I was left with is the drawer on the right:

It adds a little character that goes a long way. And the best part: it's close to impossible to mess the glaze up! Just paint it on and wipe it off.

One of the most fun parts was picking my knobs out. Hobby Lobby has a selection that takes up an entire wall--I went with some fun, mismatched, eclectic ones.

I'm so happy with the final product!

Pick up some cheap pieces from Goodwill to practice on, or try it on your own home furniture. Leave a comment if you have a make-over success story to share!
No comments:
Post a Comment